
How to Easily Make Custom Shadows Overlays in Photoshop
Photoshop Shadows Overlays
Shadows are a bit more than a dark patch on a canvas, they effortlessly transform flat images giving them depth, adding drama and an irresistible mood. But sometimes, the image you want to use does not have that specific shadow you want (an object, a window, a tree, a plant, etc) and you may discard that image just for that reason. Fortunatelly, there are many different ways to add custom shadows to an image, and today I will show you a simple and effective way to create your own shadows in Photoshop using any image that you want to be used over any other image that you wish.
Step 1
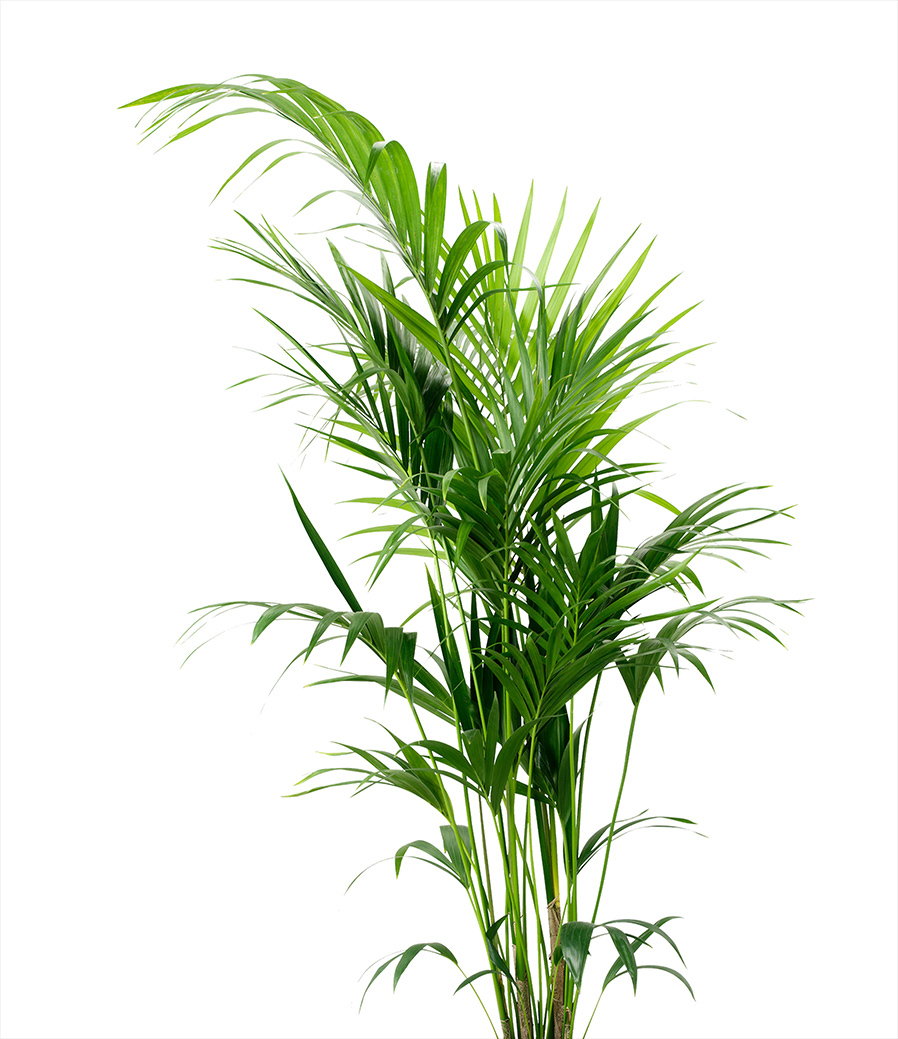
Open the image you want to use as a shadow in Photoshop.
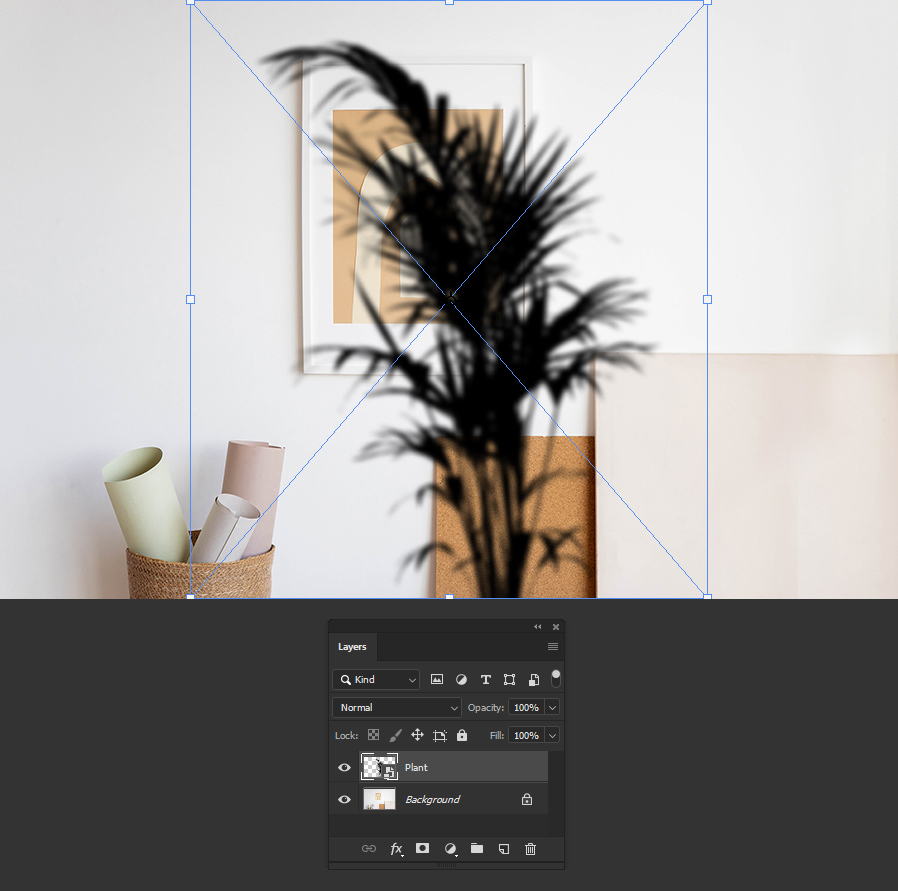
Step 2
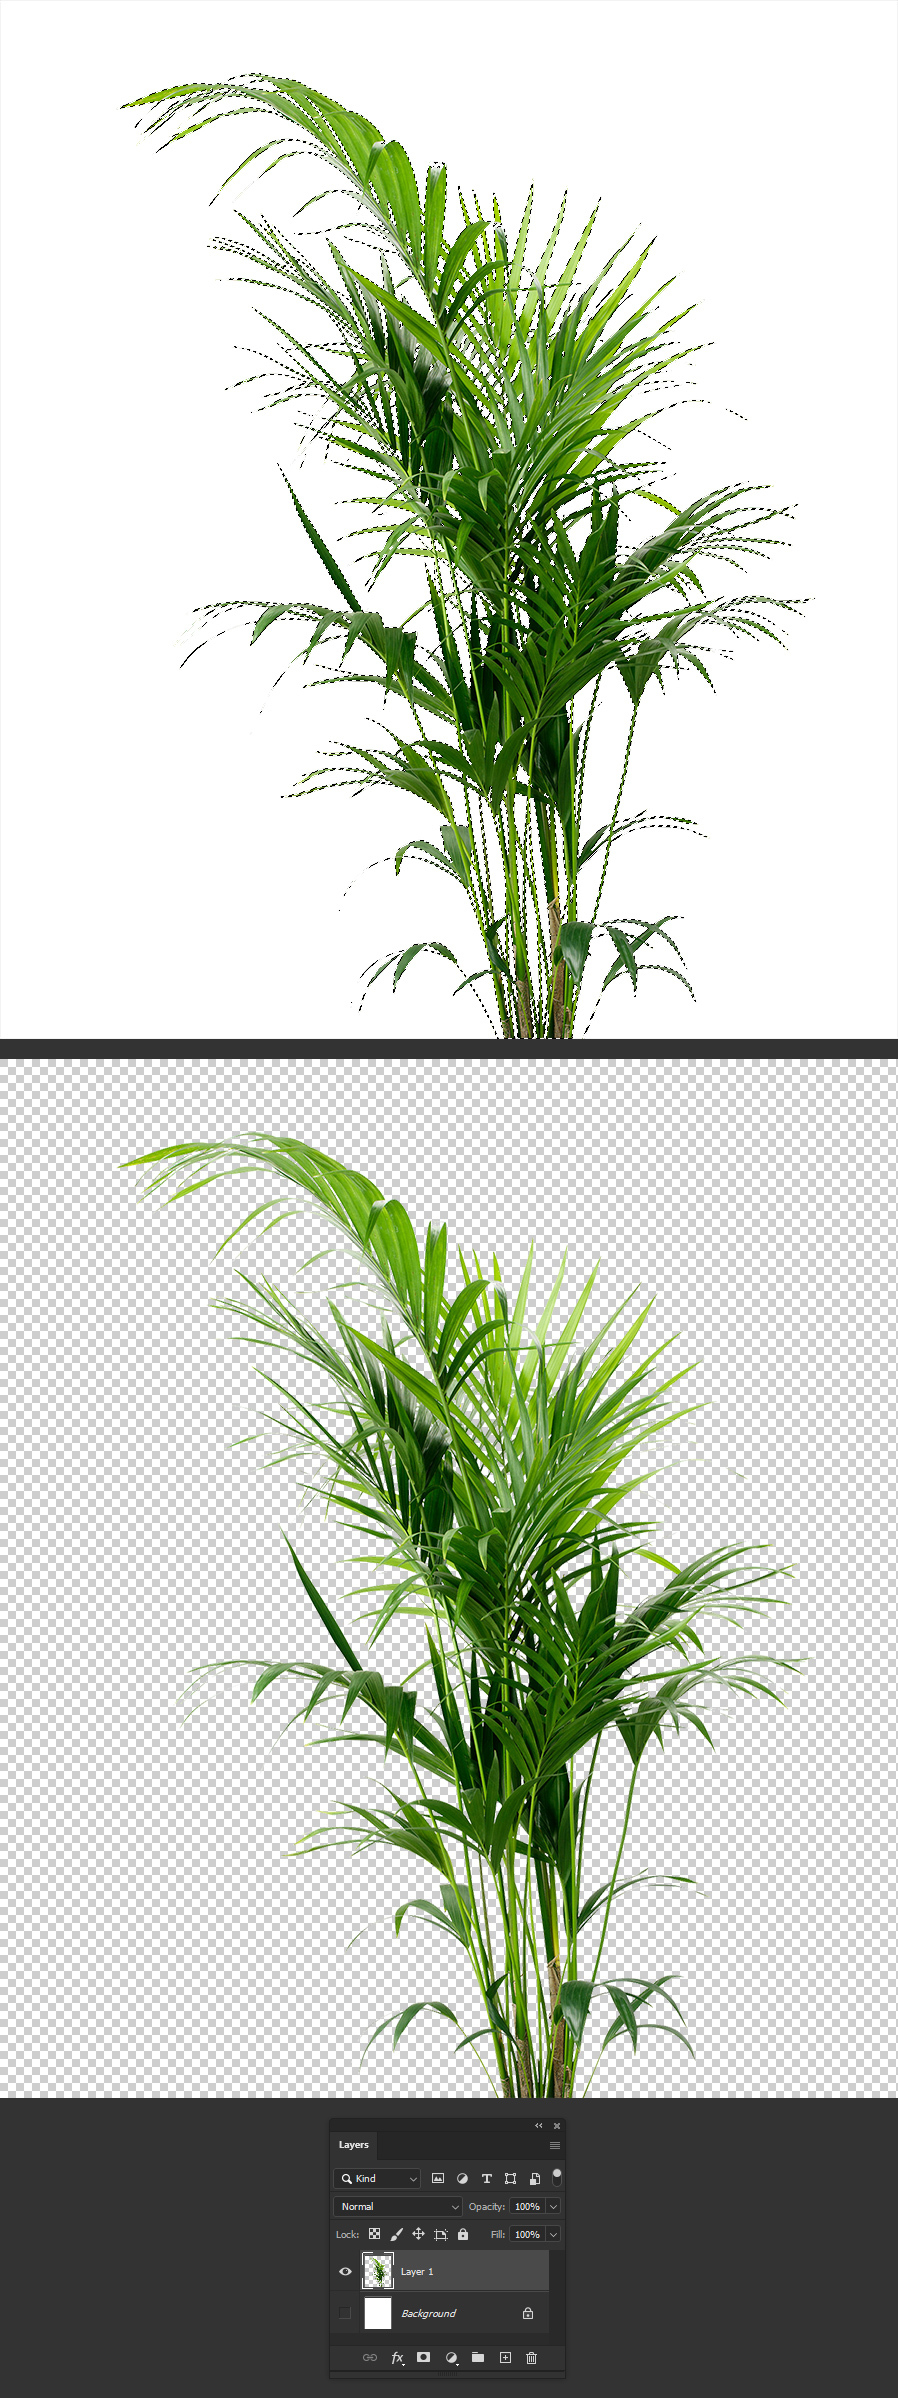
Using your prefered method cut your object from the background, which in this case is the plant. I will be using the "select subject" method although the selection does not need to be too precise.
Step 3
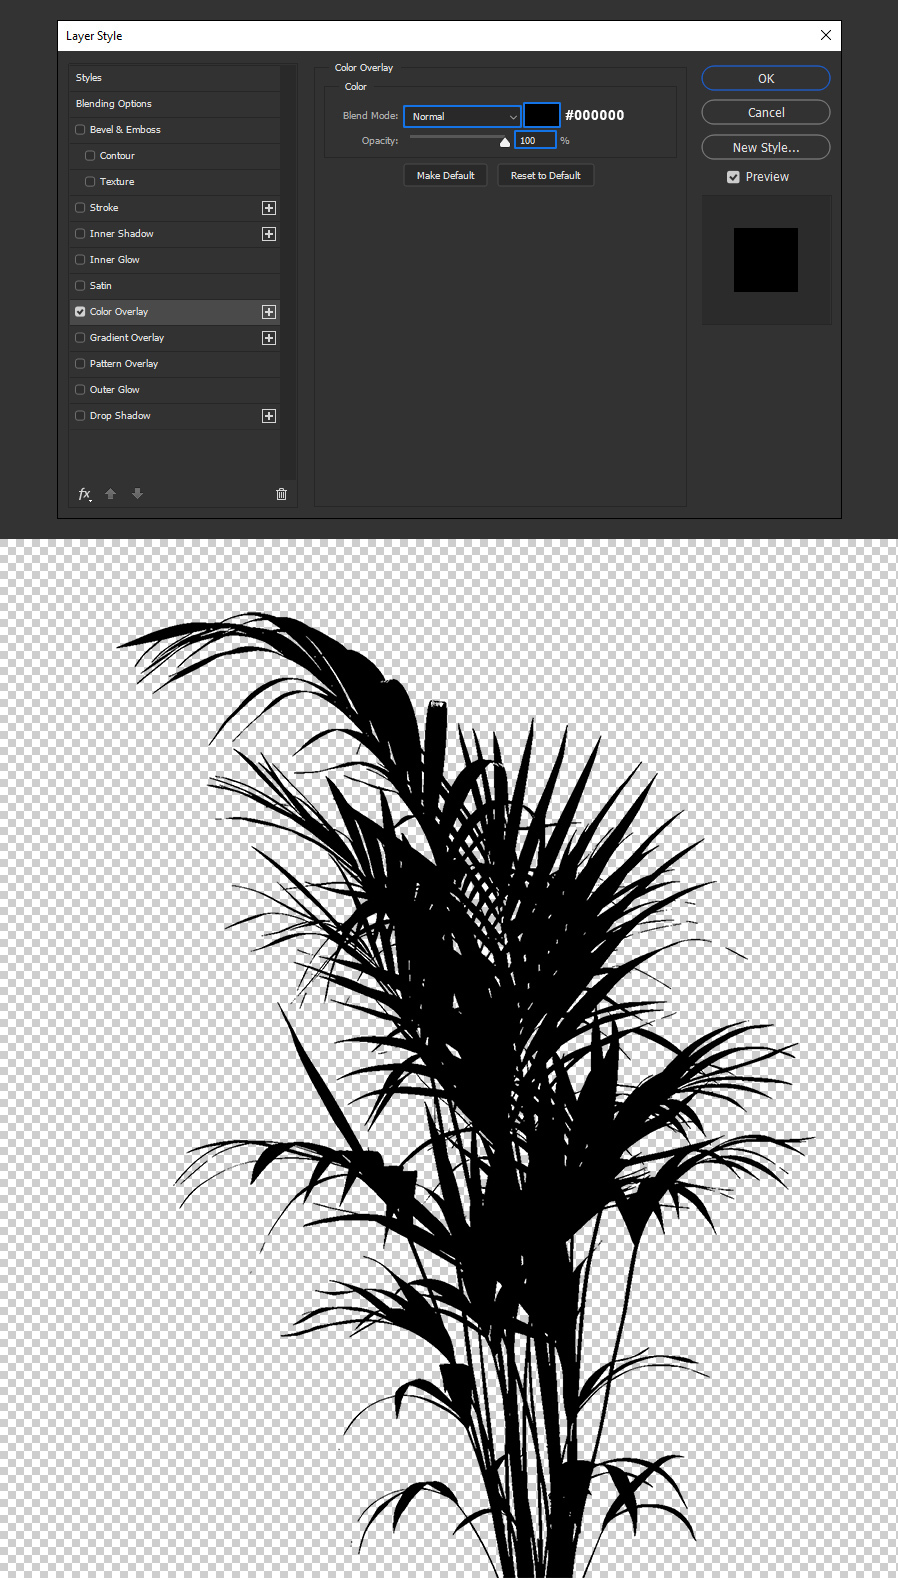
With your object layer active, go to Layer > Layer Style > Color Overlay. Set the Blend Mode to "Normal", the color to #000000 and click OK in the Layer Style window.
Step 4
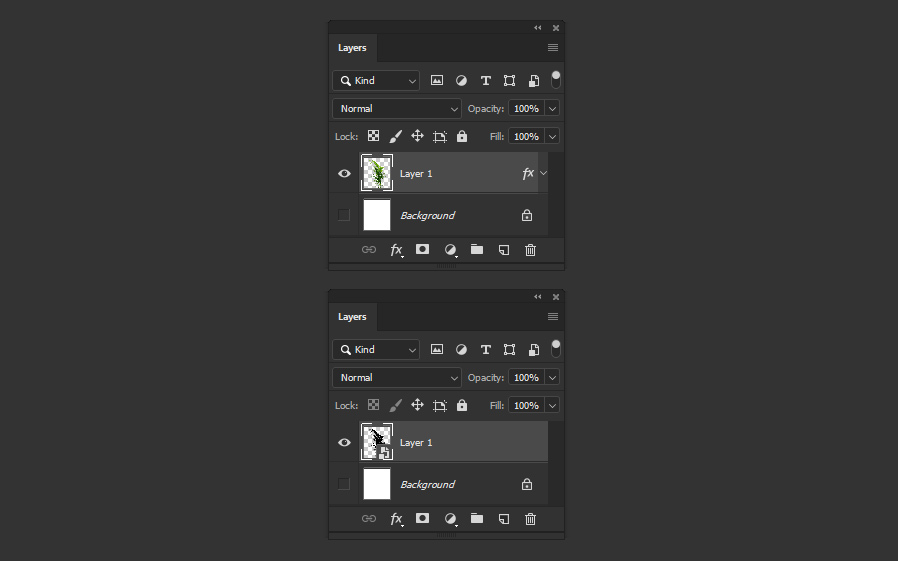
Go to Layer > Smart Objects > Convert to Smart Object.
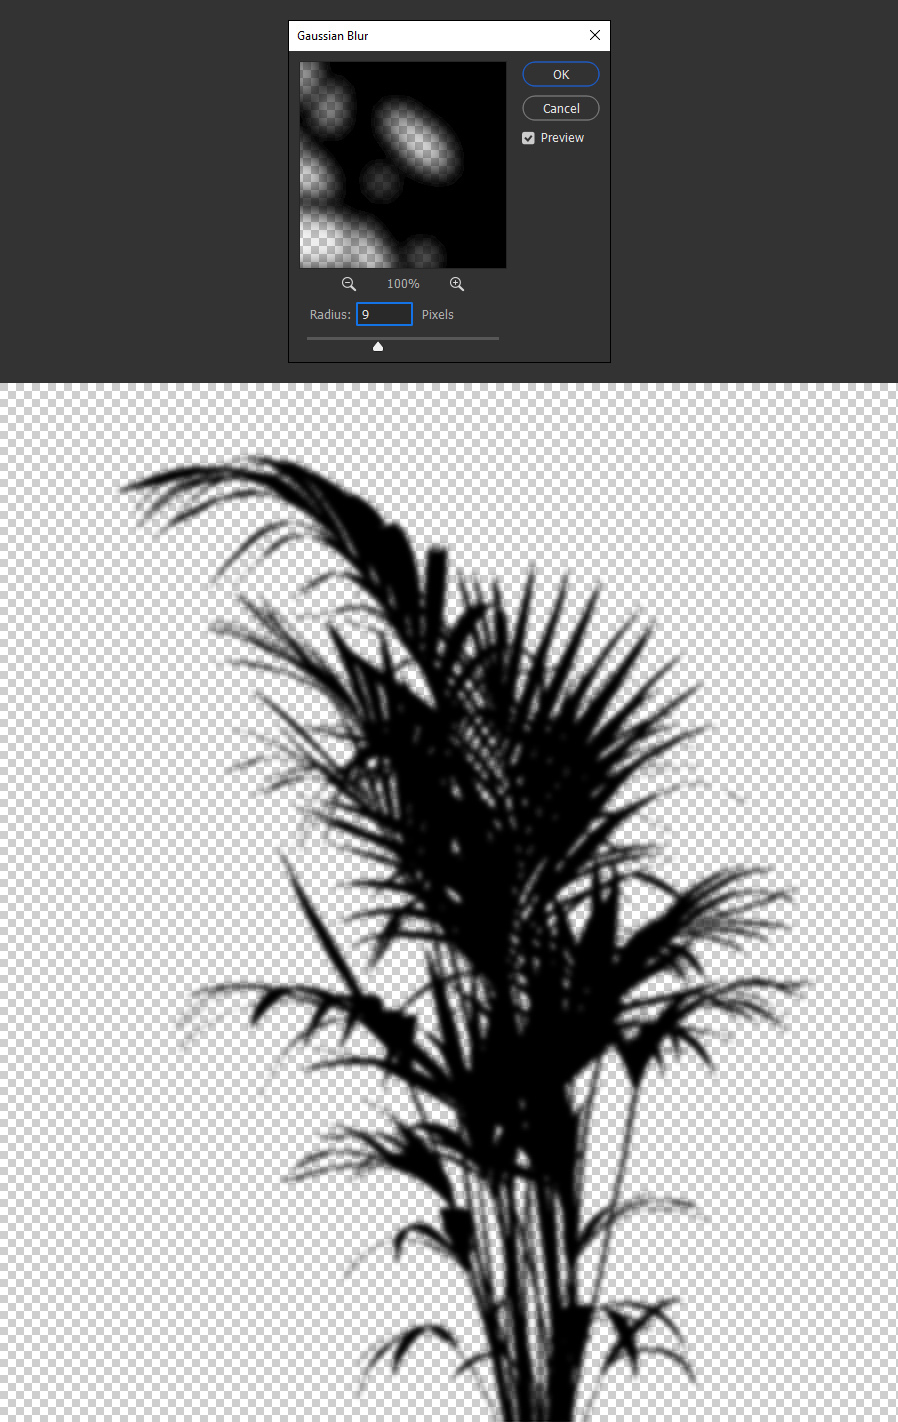
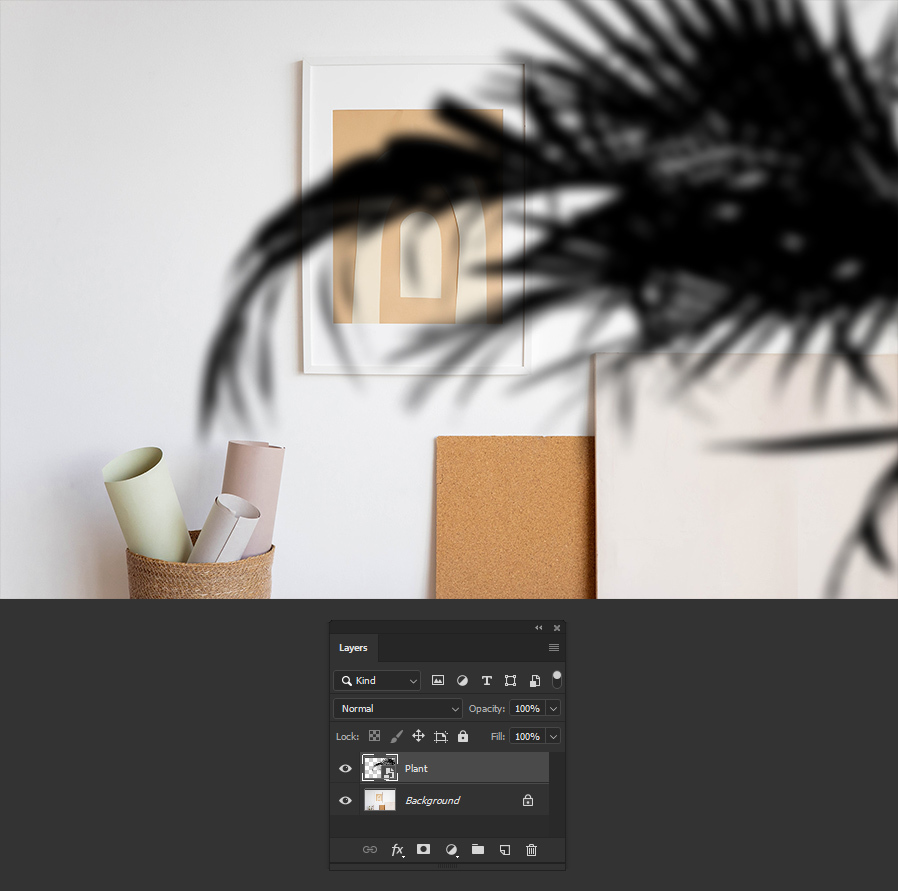
Step 5
Go to Filter > Blur > Gaussian Blur. Aim to blur as much of your object as possible, but without loosing the shape of it. In this case, a Radius of 9 pixels seems to work just fine. Once you find your perfect value, click OK in the Gaussian Blur window.
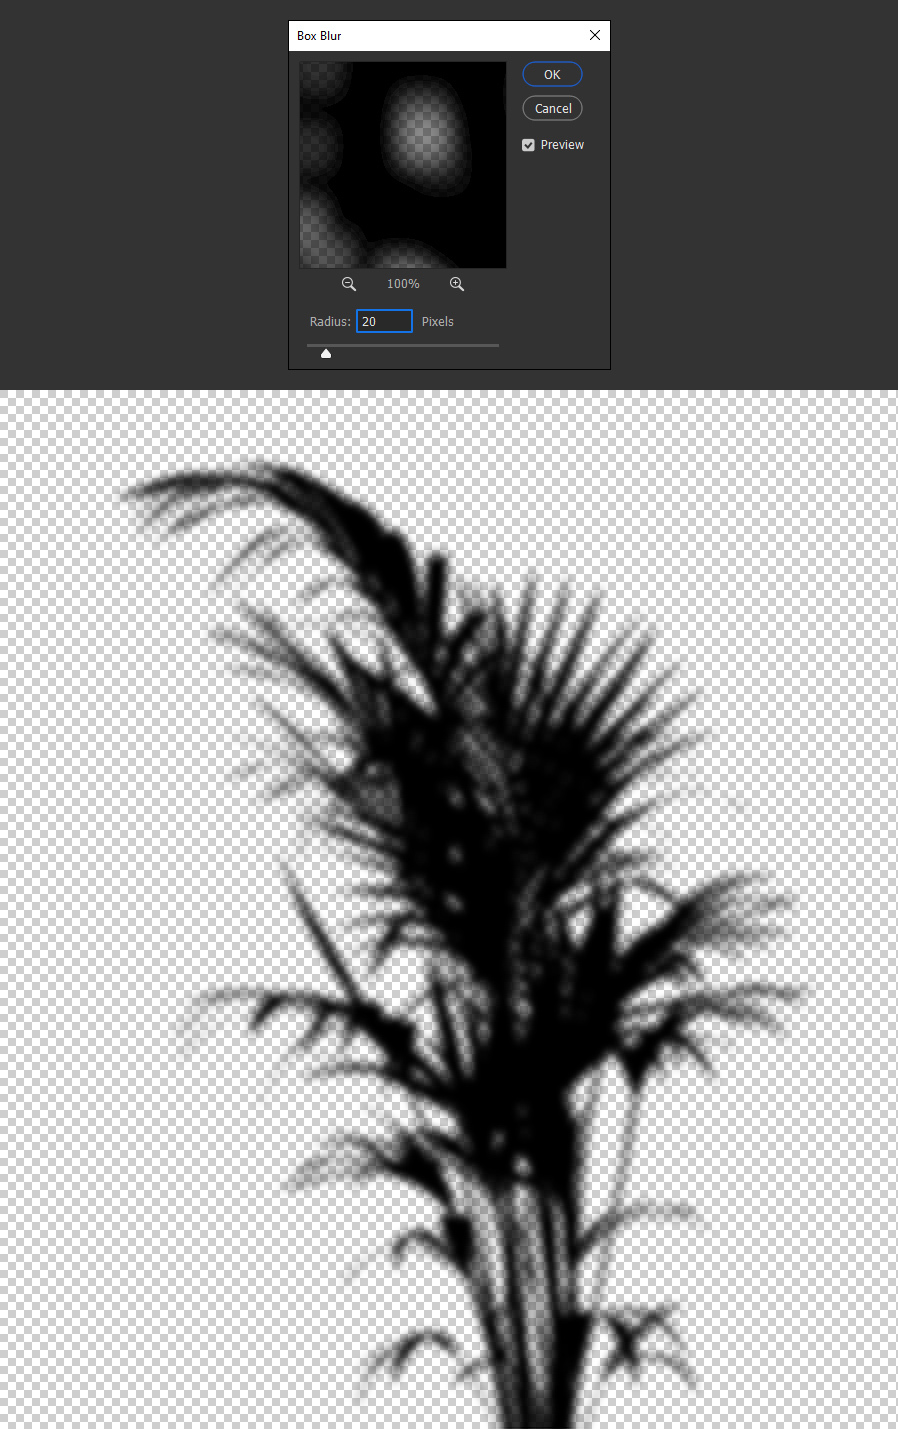
Step 6
Next, go to Filter > Blur > Box Blur. Again, aim to blur as much of your object as possible without loosing the main shape, and keeping some details from the previous blur effect. In this case, a Radius of 20 pixels seems to work just fine. Once you find a value that works for you, click OK in the Box Blur window.
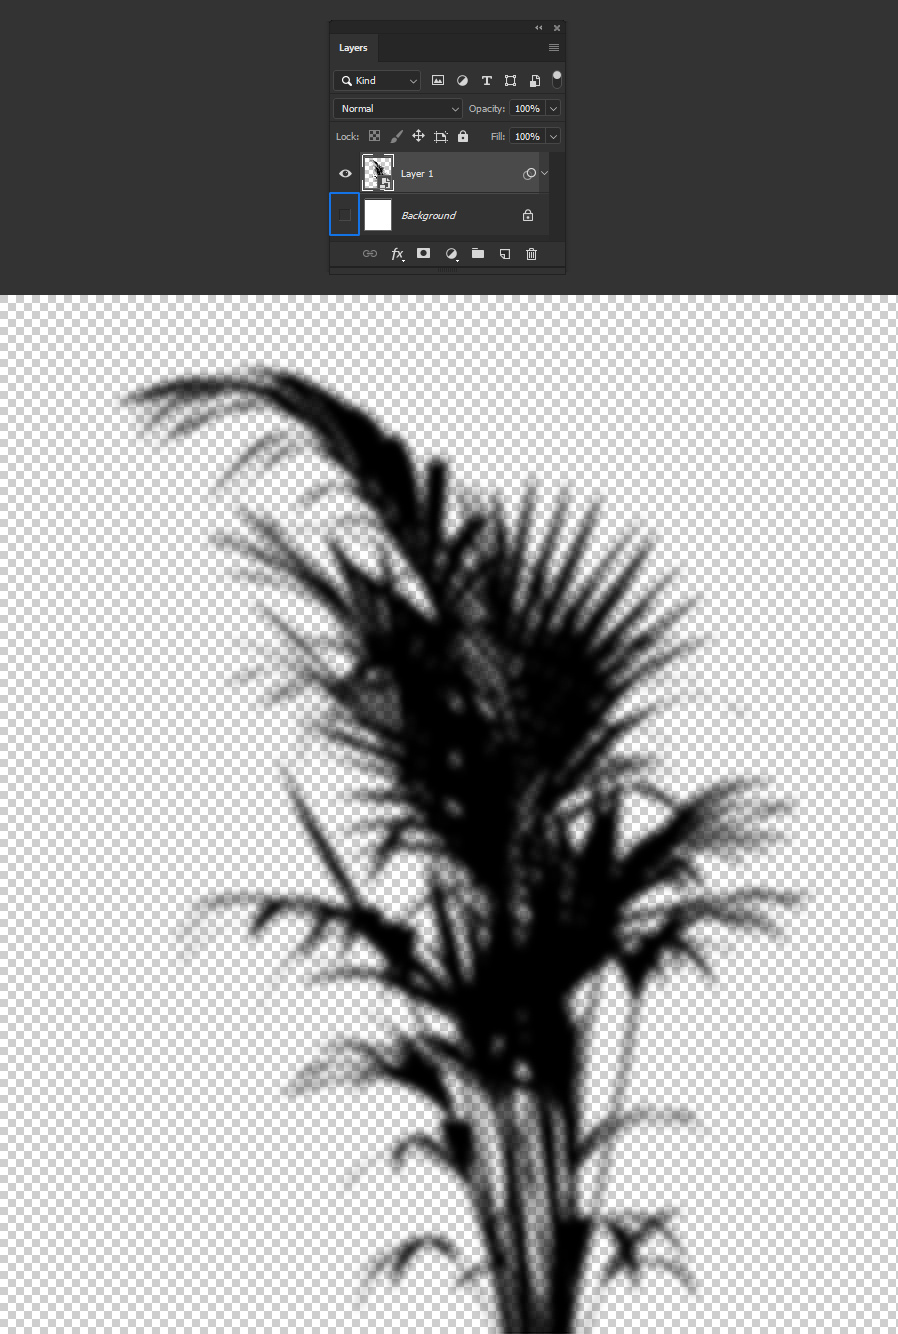
Step 7
Be sure to have your Background layer turned off and save the file as a PNG on your computer.
Step 8
To test our new overlay shadow, open any image in Photoshop.
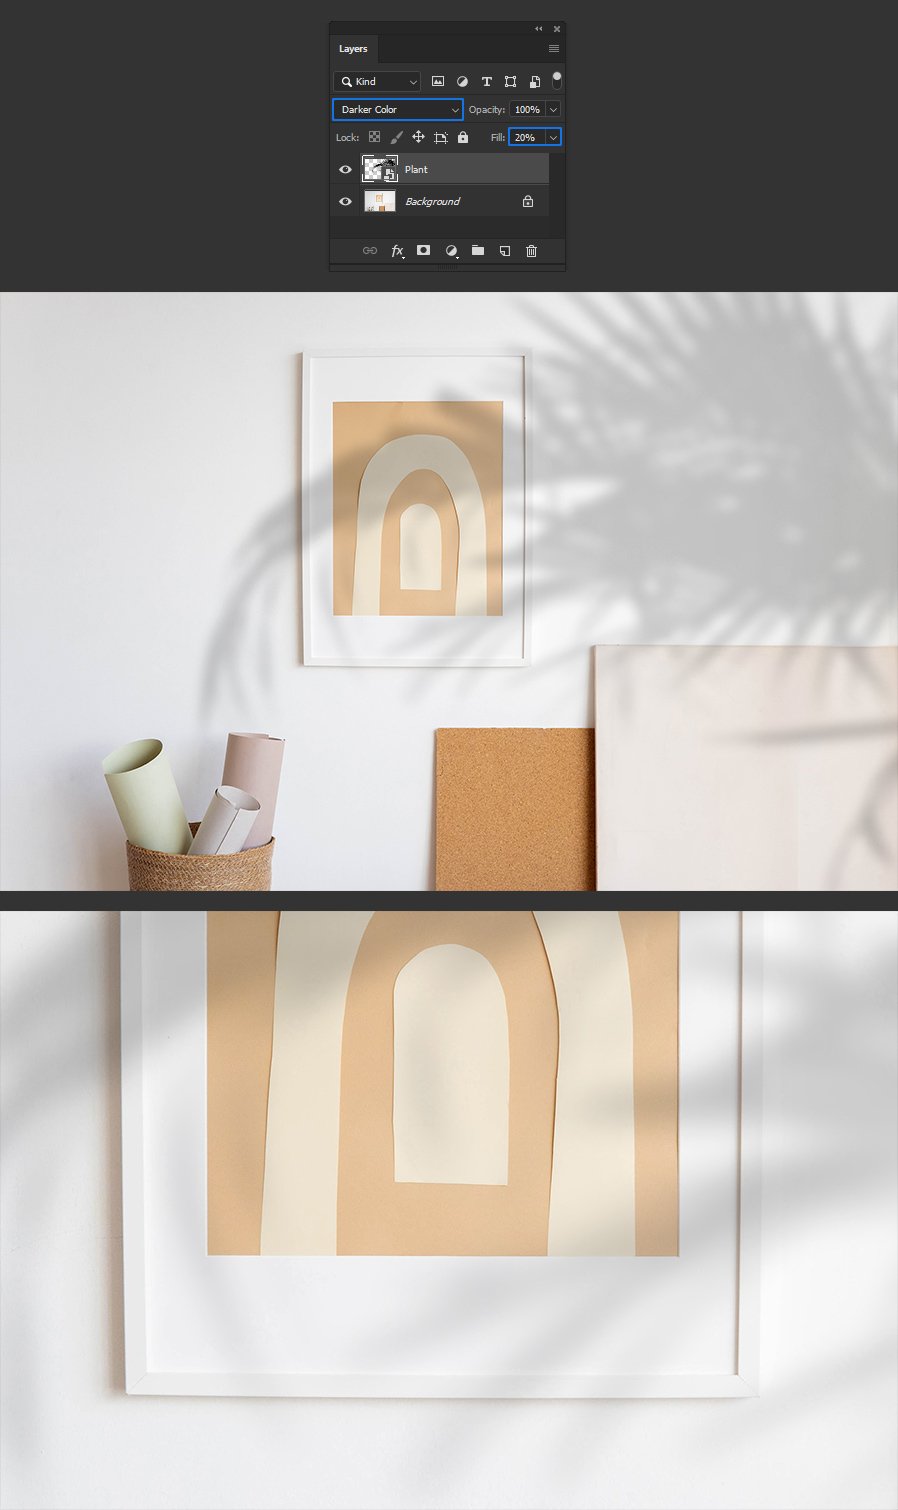
Step 9
Go to File > Place Embedded, locate the PNG file with the shadow we just made on your computer and click the Place button.
Step 10
Set your prefered location and position for the shadow and hit the Enter key on your keyboard to commit the changes.
Step 11
Lastly, set the layer blend mode to Multiply or Darker Color and bring down the Fill to your liking.
Some Final Words:
Now that you know how you can create your own overlay shadows in Photoshop, you can repeat the process described here for any other object you want to use and instantly change the mood of your images while adding a subtle depth to it.
More from Tutorials

How to Easily Remove Smoke From The Background in Photoshop
Tutorialsby Diego Sanchez
Smoke images can be used in a wide range of applications across various designs, such as adding drama to a photograph, crafting captivating visual effects on posters, or even giving your artwork a mysterious halo. Whichever the case, transparent smoke can serve as a powerful tool in your arsenal. So today, I will show you how easy it is to remove the background from a smoke image, and in the process, prepare the file to change the smoke color at any time you want, allowing you to seamlessly integrate it into your projects.
Read more
Easily Make a Glass Texture Effect in Photoshop
Tutorialsby Diego Sanchez
The glass effect has been used by many designers and photographers to add depth and dimension to their compositions with a touch of modern elegance. There are, of course, many different ways to apply a glass effect in Photoshop, but today I will show you how easy it is to make your own glass texture and apply realistic distortion to any of your images using nothing but the default Photoshop tools.
Read more
How to Easily Make Your Vector Digital Signature
Tutorialsby Diego Sanchez
In today's digital life, whether you are a freelancer, a business owner, or simply someone who frequently engages in digital transactions, having a well-crafted digital signature is almost indispensable to add a touch of authenticity and credibility to your documents. So today, I will show you how easily you can make your own vector digital signature in Illustrator for you to sign your digital documents or incorporate it into any design work.
Read more
Easily Make an Editable Grunge Text Effect in Photoshop
Tutorialsby Diego Sanchez
There are different ways to make a grunge text effect in Photoshop while keeping your text fully editable, and the most known one is to use a texture as a layer mask to hide part of the text. But Today I will show you a differnt approach on how you can make this kind of effect, while keeping you text fully editable and at the same time give you a bit more control over that effect by using a texture in a new layer (instead of a layer mask) that you can later move, scale, replace or combine with other textures without replacing any kind of layer mask.
Read more