Create an Easy Smoke Type Effect Using the Smudge Tool
Recently I was in need of a method to create a quick smoke effect for an ad that included text within the puffs of smoke. I found that the effect could be easily created by using the Smudge Tool in Photoshop to distort the text around the smoke. Let's take a look at how this can be accomplished.
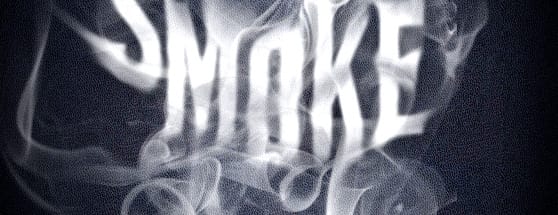
First up... Here's a look at what will be creating.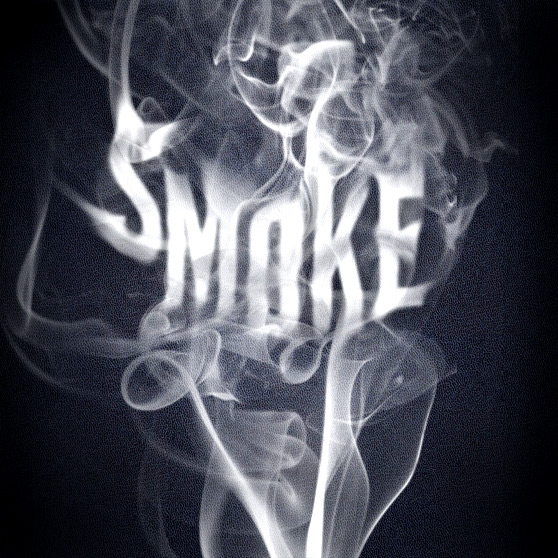 To create the smoke, I'm using a free custom brush that you can download here.
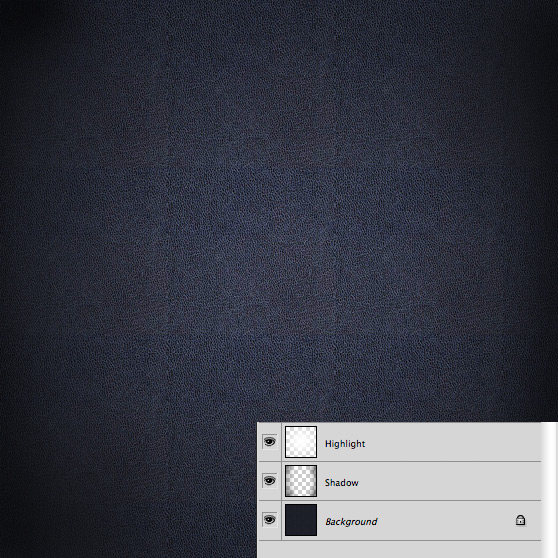
 Let's enhance the background a bit with a little light. With a large soft black brush I painted around the edges on a new layer. Then with an even larger soft white brush, on a new layer, I painted a large dot in the middle, and set this layer's blend mode to Overlay.
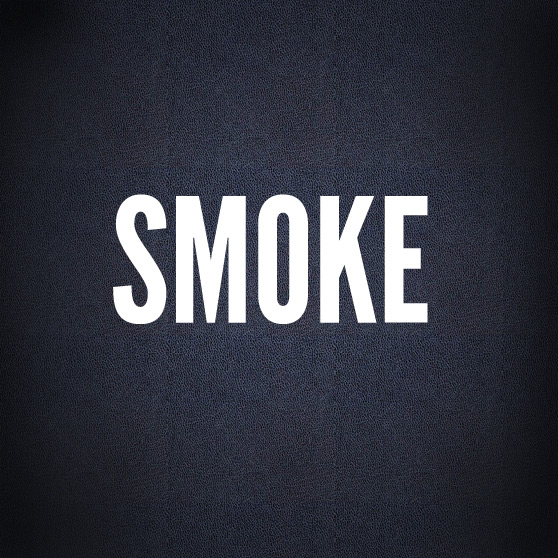 Apply a (Filter | Blur | Gaussian Blur ) with a radius around 2 or 3 to the type.
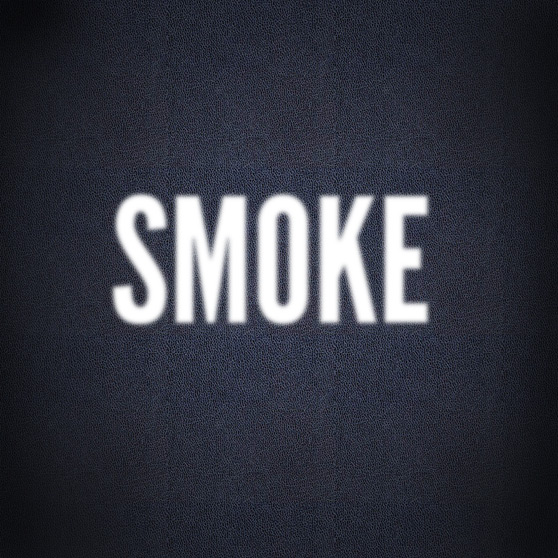 Reduce the type layer's opacity to 85%. Now select each letter with the Rectangular Marque Tool (M) and cut and paste them onto new layers. When you're done you should have a layer for each letter. Now offset the letters similar to what I have done below.
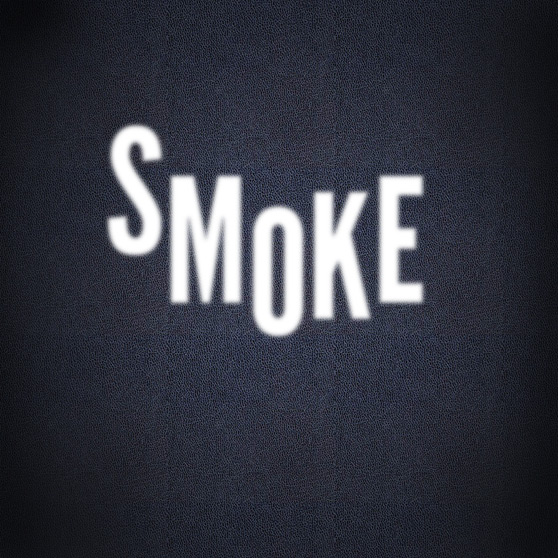 Once you have the letters placed you can merge them back to one layer again, by selecting all of the layers and pressing (Cmd+E).
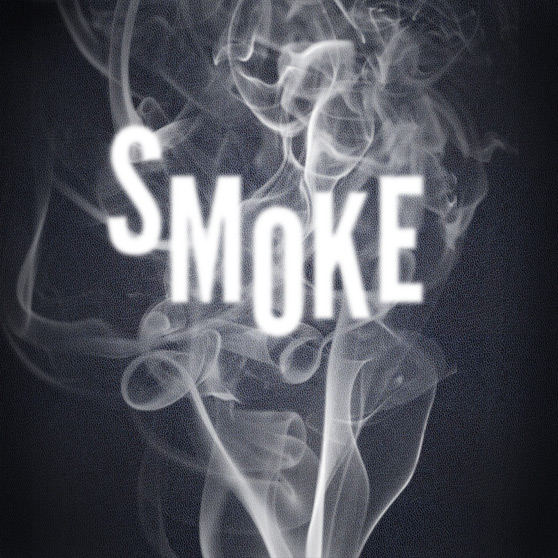 Back to the rasterized type layer... Choose the Smudge Tool from the Tools Panel.
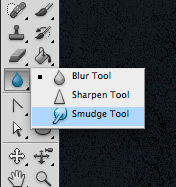 In the top option bar reduce the Smudge Tool's strength to 20%. Then begin to paint the edges of the letters in the direction of the smoke swirls. Note that it may take several passes with the brush to bend and shape the stroke the way you want it.
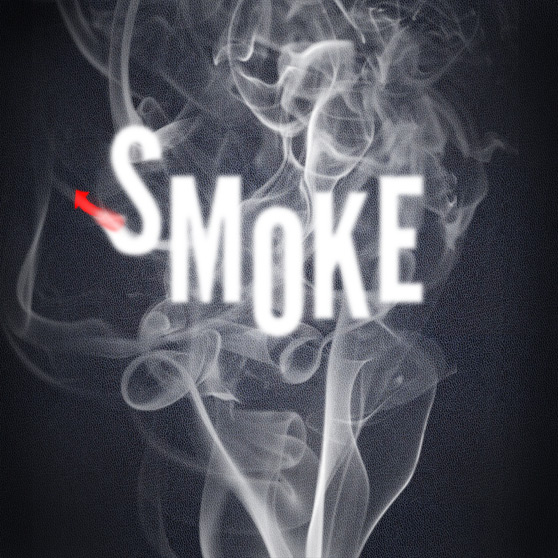 Continue this process, changing the size of your brush, until portions of the letters blend with the smoke swirls.
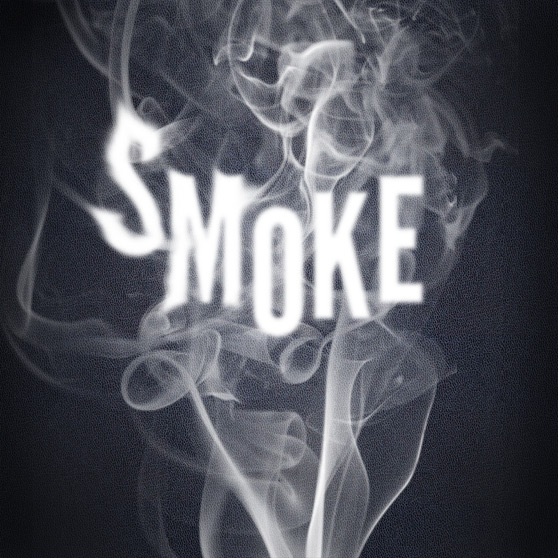 Even more smudging... I also used a very low opacity Eraser Tool (E) to remove just a little bit of the letters in certain areas to reveal more of the smoke swirls.
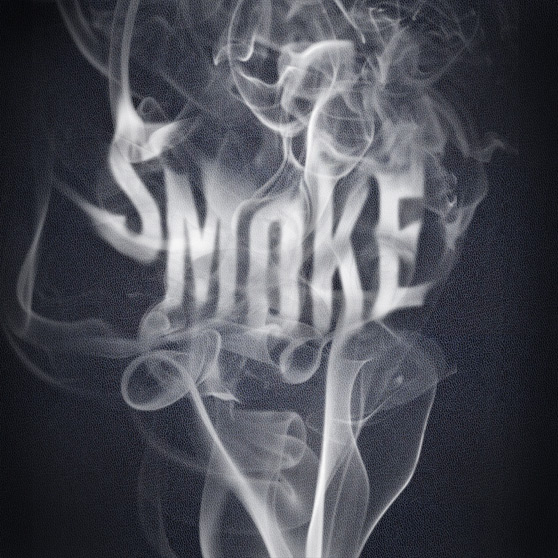
 Below is my final composition.

First up... Here's a look at what will be creating.
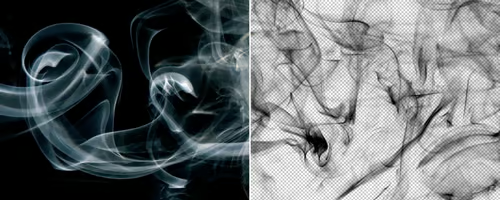
 To create the smoke, I'm using a free custom brush that you can download here.
Step 1
Create a new document 800x800 at 72dpi. Start off with a nice subtle textured background. I'm using a pattern from this set, but you can choose any subtle texture you wish. We're using a texture so that the smoke and type will stand out and look separated from background. Let's enhance the background a bit with a little light. With a large soft black brush I painted around the edges on a new layer. Then with an even larger soft white brush, on a new layer, I painted a large dot in the middle, and set this layer's blend mode to Overlay.

Step 2
Now let's add some type. I used League Gothic as the type face. Go ahead and rasterize the type layer by (Ctrl+Clicking) the layer and choosing "Rasterize Type" from the pop up menu. Apply a (Filter | Blur | Gaussian Blur ) with a radius around 2 or 3 to the type.
 Reduce the type layer's opacity to 85%. Now select each letter with the Rectangular Marque Tool (M) and cut and paste them onto new layers. When you're done you should have a layer for each letter. Now offset the letters similar to what I have done below.
 Once you have the letters placed you can merge them back to one layer again, by selecting all of the layers and pressing (Cmd+E).
Step 3
Using the custom brush set we downloaded earlier, choose a brush and ad some smoke to the document on a new layer above the type. Back to the rasterized type layer... Choose the Smudge Tool from the Tools Panel.
 In the top option bar reduce the Smudge Tool's strength to 20%. Then begin to paint the edges of the letters in the direction of the smoke swirls. Note that it may take several passes with the brush to bend and shape the stroke the way you want it.
 Continue this process, changing the size of your brush, until portions of the letters blend with the smoke swirls.
 Even more smudging... I also used a very low opacity Eraser Tool (E) to remove just a little bit of the letters in certain areas to reveal more of the smoke swirls.

Final Adjustment
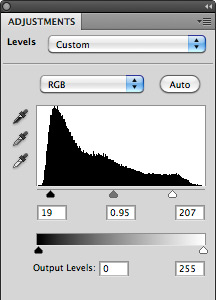
To give the image a bit more contrast, I added a Levels Adjustment layer above all other layers. I adjusted the levels as follows. Below is my final composition.

